DIY Yoga Mat Tutorial
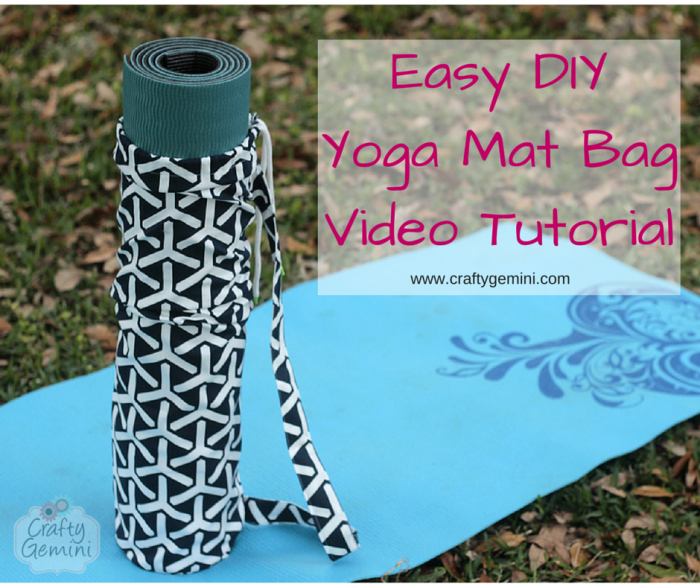
Follow my DIY Yoga Mat Bag tutorial to make a cute and functional tote for your mat. This is definitely beginner-friendly! The benefits of yoga are huge- and it helps you feel stronger and healthier.
I got a new yoga mat for Christmas and it’s so fabulous and thick I thought I needed a DIY yoga mat bag to carry it around in. So, as usual, I decided to throw together a video tutorial for you so you can make one too!
This tutorial is 20 minutes long. Yes. I know. That’s long. But trust me it’s worth it. I walk you through every.single.step. I teach you how to take the measurements of your rolled up yoga mat so you can make it custom to your mat’s measurements. If you don’t have a mat or are making this as a gift for someone, just use the same measurements I use in the video and you should be good. I leave enough room around to accommodate a longer and thicker mat just in case. This project is beginner friendly. Follow my video tutorial and you’ll be good to go.
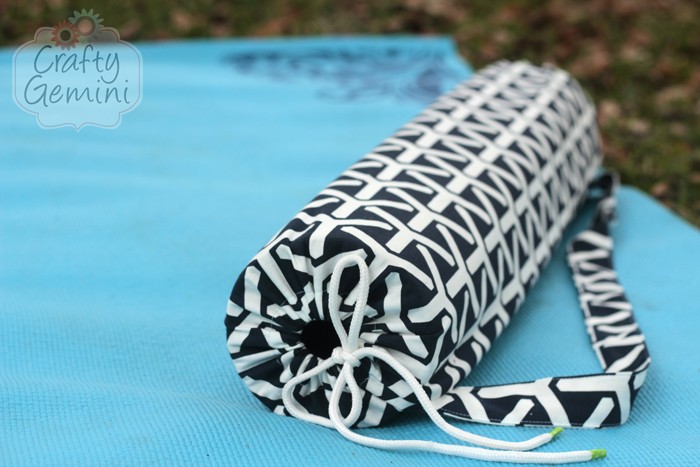
I kept this bag simple. I like to look out for my beginners out there (hi sewing newbies!) So there is no lining, no interfacing, no zipper, no pockets, no snaps. Just a simple drawstring closure and a sturdy shoulder strap. I only use one fabric and a yard is more than enough. As a matter of fact you could make two of these from one yard of home decor weight fabric.
In this video tutorial I cover the following:
• Supplies and materials needed to make the yoga mat bag (Shop sewing tools and notions at the Crafty Gemini Shop.)
• How to take measurements of mat
• How to transfer custom measurements to your fabric for cutting
• Different fabric options and how to select the fabric for this project
• How to make the casing for the drawstring closure
• Different options for drawstring options and how to insert it in casing
• How to measure and cut fabric for your shoulder strap
• How to attach the shoulder strap
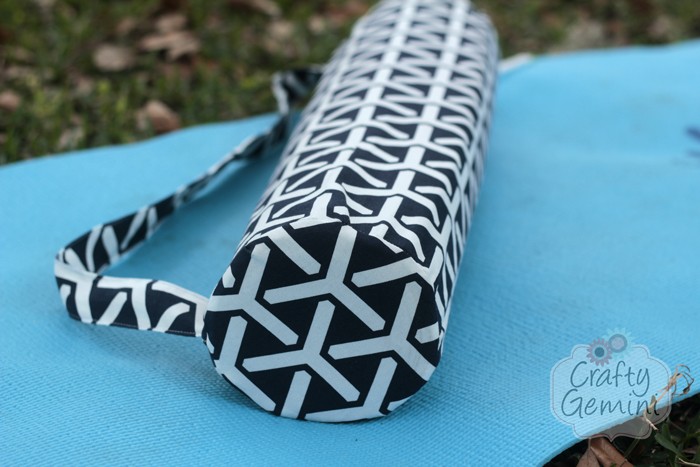
• How to give you bag a clean and fitted round bottom for a more professional finish (see pic below. It’s gorgeous.)
• I share tips and tricks along the way that you can carry on to other projects
CLICK HERE TO WATCH THE VIDEO TUTORIAL!
{or scroll down to view the video right on this page.}
I used one yard of this gorgeous Cloud 9 Geocentrics organic cotton canvas (affiliate link) that I’ve had in my stash for over a year. I couldn’t find the same fabric online but I found some even prettier ones from the same manufacturer HERE. (affiliate link) Any of those prints would look fab in this project. Just be sure to get the canvas. It’s not as heavyweight (stiff) as traditional cotton canvas. This has more drape but still has enough body that you only need one layer.
Give it a go. Maybe if you make the bag first then you’ll be tempted to get a yoga mat for it and give it a try. It’s good for you, ya’ know?
Namaste.
Once you’re done with your DIY Yoga Mat Bag, make a Reusable Market Tote Bag to carry your essentials!


Patty
Hi Vanessa,
Thank you for another great tutorial. I also just got a yoga mat so I can start taking a yoga class too… with no guilt! Your tutorials are the best, I tell everybody about them. Because of you I am sewing more things than I ever thought I could sew.
I have a nice cotton fabric I want to use for my yoga mat bag but since it’s too light of a fabric can I fuse it to a light weight canvas with a fusible interfacing and than make my bag using your tutorial? If I cut the fusible interfacing the same size as the cotton fabric and light weight canvas and fuse them together before I start sewing it should work right?
Kathy
Hi Vanessa! I love your tutorials, I made 16 burrito pillowcases for Christmas gifts last year, I embroidered all the kids names on them, they were a great success! I am wondering if we are able to sell things from your tutorials. As long as we mention the pattern was by you. I just made a fleece hat with ear flaps and love it!! They would go fast here in Michigan. Thanks for your time, and keep these awesome tutorials coming!
Linda Chin
Hi Vanessa,
I was just reading Bonnie Hunters blog, Quiltvilles quips & snips and saw how some people are taking her patterns and designs and making videos of how to make them. I remember you said something about your attorney when this happened to you. A proprietary thing??? Obviously not a lawyer….anyway, I thought you two could,chit chat about it since you’ve been through it already.
iYogaprops | Yoga Mats
Thanks for sharing this video tutorial. This DIY yoga mat bag looks cool and I can already think of different sorts of fabric to match my mood and personality. I just hope that my creativity and skills will work to get one done. I will definitely love a personalized yoga mat bag
Elaine
Love your tutorial. Very well done. Clear concise instructions and very clear and steady videography. One question, what are you using to iron the fabric. I’ve not seen anything that small here in Canada. I am very interested in obtaining one. Keep up the good work. Looking forward to more tutorials.
Elaine
Love this tutorial. Very clean, consise instructions, as well as clear and steady videography. I am interested in knowing make, model and where to buy the small hand held iron you are using. I have not seen anything like it here.
Erin
This tutorial was so much help. I was following another pattern, but used your video for instruction and it made it so easy. THANK YOU! I can’t wait to check out your other videos.
Jcfietz
Love your tutorials
Mary Rudy
Love it! Keep up the good work!!!
I also love love LOVE your Improv Tote – made one this weekend & it made me happy!
nicki
many many many thanks for this great video. My yogo mat bag is done! And that on the first try!
Carol B
Really liked your yoga mat bag tutorial. You made it so easy to follow and it’s looks so professional too. I can’t wait to use my bag.
Thank you