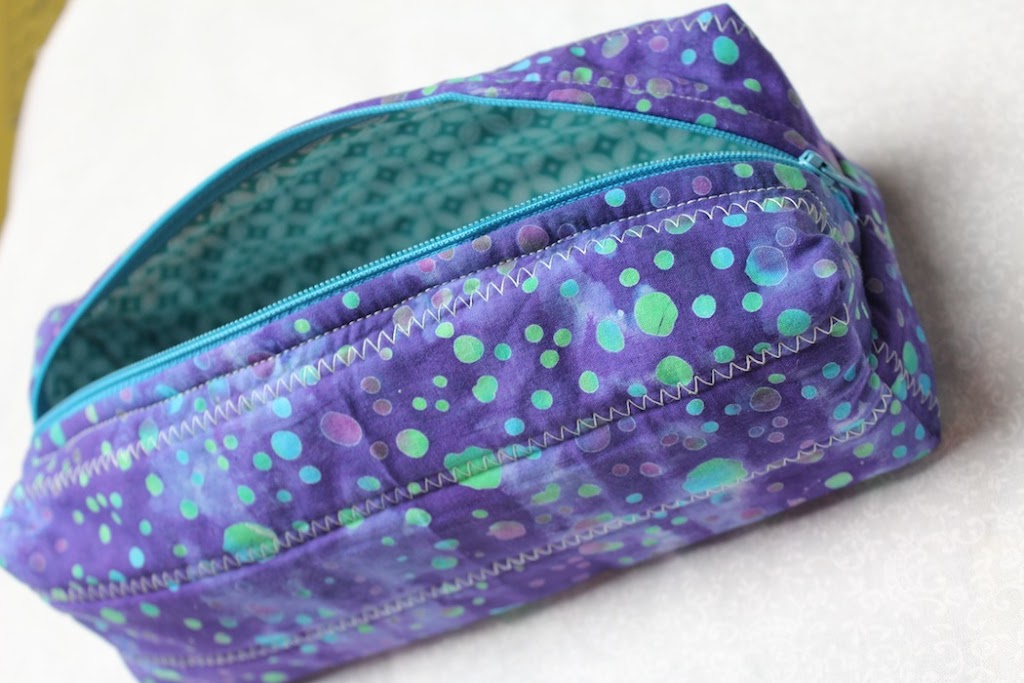
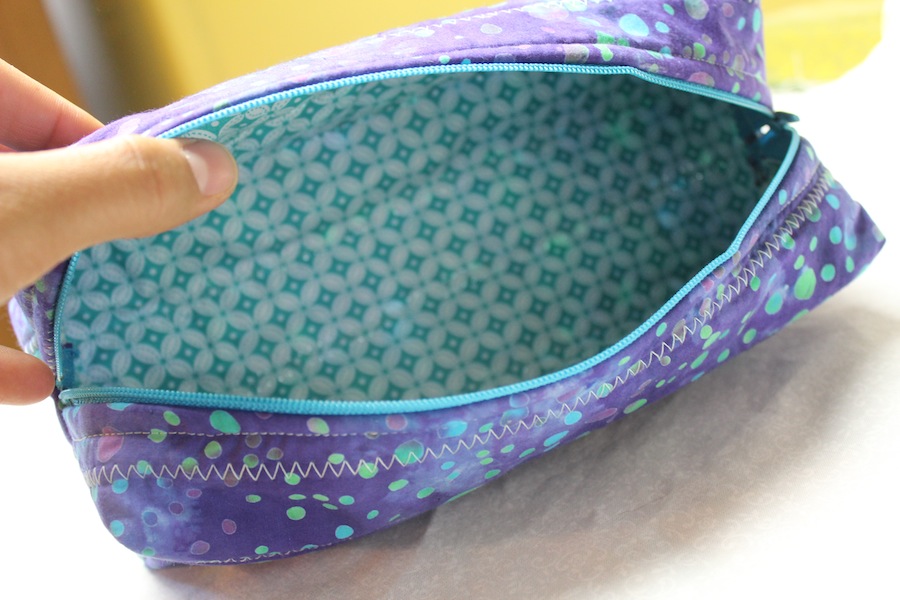
Last year I posted a quilted zipper wristlet tutorial which has been very popular. I’ve also received pictures and emails from dozens of you who turned that wristlet into a coin purse, cosmetic bag, diaper & wipes bag, etc. You also requested a box version of the zippered pouch and I’ve finally delivered!
If you are a newbie and dread any project that requires a zipper… don’t! This is really easy to make and I designed my video tutorial especially thorough just for you! The video is over 13 minutes long but trust me…. I walk you through every step! Just grab your supplies, laptop/iPad and make it alongside me.
To complete this box pouch you’ll need:
Please note: some of these links are Amazon affiliate links, which means when you purchase I earn a small commission at no additional cost to you.
– 2 fabric pieces measuring 14″ x 15″
– 1 batting piece measuring ~15″ x 16″
– One 12 zipper
– Pins or Lapel Stick
– coordinating thread
– rotary cutter + mat + rulers
– sewing machine with zipper foot attachment
You can also buy tools and notions directly from the Crafty Gemini Shop here: https://craftygemini.com/product-category/toolsnotions/
When you finish yours upload a picture to my Facebook page so we can see your cute little box pouch! We have at least five of these in my house already. My son loves the one I made for him to keep his markers and crayons in. What are you going to use yours for?
CLICK HERE TO WATCH THE VIDEO TUTORIAL FOR THIS BOXY POUCH!


beebee
your tutorials are great. thanks for posting them on your blog.
I am going to make a pouch like this one and post a photo on my blog. I hope to do it soon!
thanks again
hugs
beebee
Marian
Great tutorial! Maybe someday I’ll be making one of these for my sis.
Gracias por compartirlo. Besos.
Anonymous
You are great!! Looking forward to making a few of these, thank you for your creative genius!
Karmi84
hi from your newest follower this is a really neat idea, will have to come back to it when i have some more time
Barbara OC
You make everything look sew easy to do
Anonymous
You have done a great job!! Really enjoy your tutorials!
Thank You!
Vanessa Wilson
Thanks!
Bronwyn
Hey Vanessa.
On your video, the grey polka dot pouch has a red tab at the end. I would like to add this to the pouch that I am making, so I can attach the pouch to my daughter’s violin case. What is the best way to do this?
Thanks.
Ma.Eugenia E.
Great Job, I love your work!!!!!
SANDRA
Hi Vanessa!
I love your tutorials. Your job is wonderful.
Hugs from Brazil!
Sandra
Lilmouse
I have not sewn in a zipper since high school when they used to teach Home Economics which consisted of a sewing class and a cooking class…only sewed in one zipper then and hated it….just made your zipper box pouch and it came out pretty good…can’t upload pictures but I am pretty proud of it! Thank you very much…will be checking your blog every now and again.
Elly D
What a super tutorial!! Thank you so much 🙂
Anonymous
Have just made one of the these boxes – only took around 90 minutes (or two episodes of Star Trek:Next Generation < smile >). Have made several zippered pouches in the past but sewing the second side of the zip was always such a “pig in a poke” as we say here in England.
Sadly, it never occured to me to open the zip – bit of an idiot moment there. May make a few for my house group’s Christmas presents.
Bronwyn
Hey Vanessa.
On your video, the grey polka dot pouch has a red tab at the end. I would like to add this to the pouch that I am making, so I can attach the pouch to my daughter’s violin case. What is the best way to do this?
Thanks
Joan
Thanks for the excellent tutorial. It was so easy to follow. I added a little handle and a ribbon to the zipper pull. I’m making the little bags for my grandchildren for Christmas.
woolywoman
I’ve been sewing for twenty years and I STILL learn something from your tutorials. You are a very good teacher! Thank you for putting these up!
redstartx
Just ran across this video on YouTube looking for info on installing zippers into pouch items. Your tute is fantastic! Very easy to follow and your directions are very clear. I’m looking forward to doing this soon, as my sewing space recovers from the pre-Thanksgiving purge. lol
Simply Creations
This comment has been removed by the author.
Deborhkatharine
Many thanks for such a well done teaching tutorial.
yusimi barrios
thank you so much for the video! that was great! I haven’t done anything with a zipper yet, this’ll be my first zipper project. I have only one question: can you post the inside final measurements for the pouch? I want to try and make a little pouch for 3×5 study cards. 🙂 Thanks again for all your wok.
Trish
Hi! I am a beginner and your tutorial is awesome and very detailed. That is why I managed to make a small zipper pouch. Thank you!! Keep on posting your tutorials – you are the best teacher!!!
476c1272-0bfa-11e3-90aa-000bcdca4d7a
Hi there. I’m new to sewing and your tutorials are SO helpful – thank you! I was wondering what kind of batting you used for this project. I just made my own zippered box pouch (hooray!), but my batting seems to be a lot thicker and floppier than yours.
luvtosew
HI I love your tutorials..super simple and very clear. I would just like to know What is the batting you have used in this project? Where can I buy one ?
Debra Cotter
Am I missing something here? Where are the instructions, I can’t find them anywhere.
Vanessa Vargas Wilson
It’s a video tutorial that you can view here.
Melanie
I don’t see it either…
Carolyn P.
I can’t find the link either.
Carolyn P.
I click on the “click here for video” and nothing happens.
Vanessa Vargas Wilson
I just fixed the link! Try it again. 🙂
Silvana
Love love your tutorial. I’ve been searching for a well explained tut and instructions. Thank you,I feel I can do this due the clarity of your instructional tut. ????
Jaime
HI, like to send pictures of my bag made from your instructions, I added material to zipper ends and a tag. Lining very bright and Used embroidery and decorative stitches so good on outside as well as inside.
I believe you’d like it.
Sally in WA
Great little tutorial! Thanks for sharing it. You might want to include the finished size of your pouch though. 🙂
Mila Kette
My daughter asked me for a lunch bag to take her lunch to work. I have some oilcloth and think this project will do perfectly–just need to change the width and length. Thank you so much for sharing!
Shifa
LOve this! I have seen many zipper pouch tutorials but this is the best!
what batting did you use here?
Vanessa Vargas Wilson
I’m pretty sure I used warm & natural batting. Glad you enjoyed it!
Lorrie Conklin
Hi Vanessa, I recently lost my darling husband of 53 years to cancer and am feeling so lost. I have decided to return to sewing and quilting and have always enjoyed your tutorials. I have sewn since I was just a little bitty girl when my mom taught me first hand sewing and then how to use her singer treadle machine. I love sewing and have learned so much from your easy to understand and follow tutorials. Right now they are giving me back a small bit of my enjoyment in life. Thank you so very much. Your happy spirit comes across in your videos and makes me feel better. Again, Thank you. Lorrie
Maria
I realize this blog has been available for a number of years, but anyway….THANK YOU for making this tutorial available. I had become frustrated with most of the overly-complicated boxy zippered pouch patterns and tutorials out there, and finally stumbled on yours. So easy! First pouch came out great! As a side note, I used heavy-weight canvas for both the inner lining and outer cover which had enough body that I didn’t need to use batting, and it worked perfectly. Thank you again!