

Baking with wild yeast has been a tradition for centuries, and it is a great way to make delicious, artisan-style breads. Sourdough starters created with wild yeast are particularly special, as the living organisms in the starter create a unique flavor and texture. Making a sourdough starter with wild yeast requires patience and knowledge, but the results are worth it. In this blog post, we will discuss the process and tips for starting a wild yeast sourdough starter, so you can make your own artisan breads at home. With some practice and attention to detail, anyone can learn to make a delicious sourdough starter using only the wild yeast in the air. Let’s get started!
1. Gather the necessary ingredients
The first step to making a sourdough starter using only wild yeast in the air is to gather the necessary ingredients. You will need four simple ingredients: flour (all-purpose, whole wheat or rye work great), filtered water (non-chlorinated), a jar or container, and a spoon. I recommend you use unbleached, unrefined flour for the best results. Also, you’ll want to find a container that can hold a cup or two of liquid. Once you have all of your ingredients, you are ready to begin!
2. Create a culture of wild yeast
Creating a culture of wild yeast is an essential step in making sourdough starter with only wild yeast. The process is simple, but it requires patience.

First, mix equal parts flour and non-chlorinated water in a large glass jar. The ratio of flour to water should be 1:1. Then cover and leave the jar in a cool, dark place for 2-12 days, stirring the mixture every day. I recommend starting with 1/4 cup of flour + 1/4 cup of water or even a 1/2 cup of flour + 1/2 cup of water is good to start. I like to use a 16 oz (half quart) jar.
To cover the sourdough starter I like to use a folded paper towel, a cotton cloth or cheesecloth over top and secure it around the mouth of the jar with a rubber band.
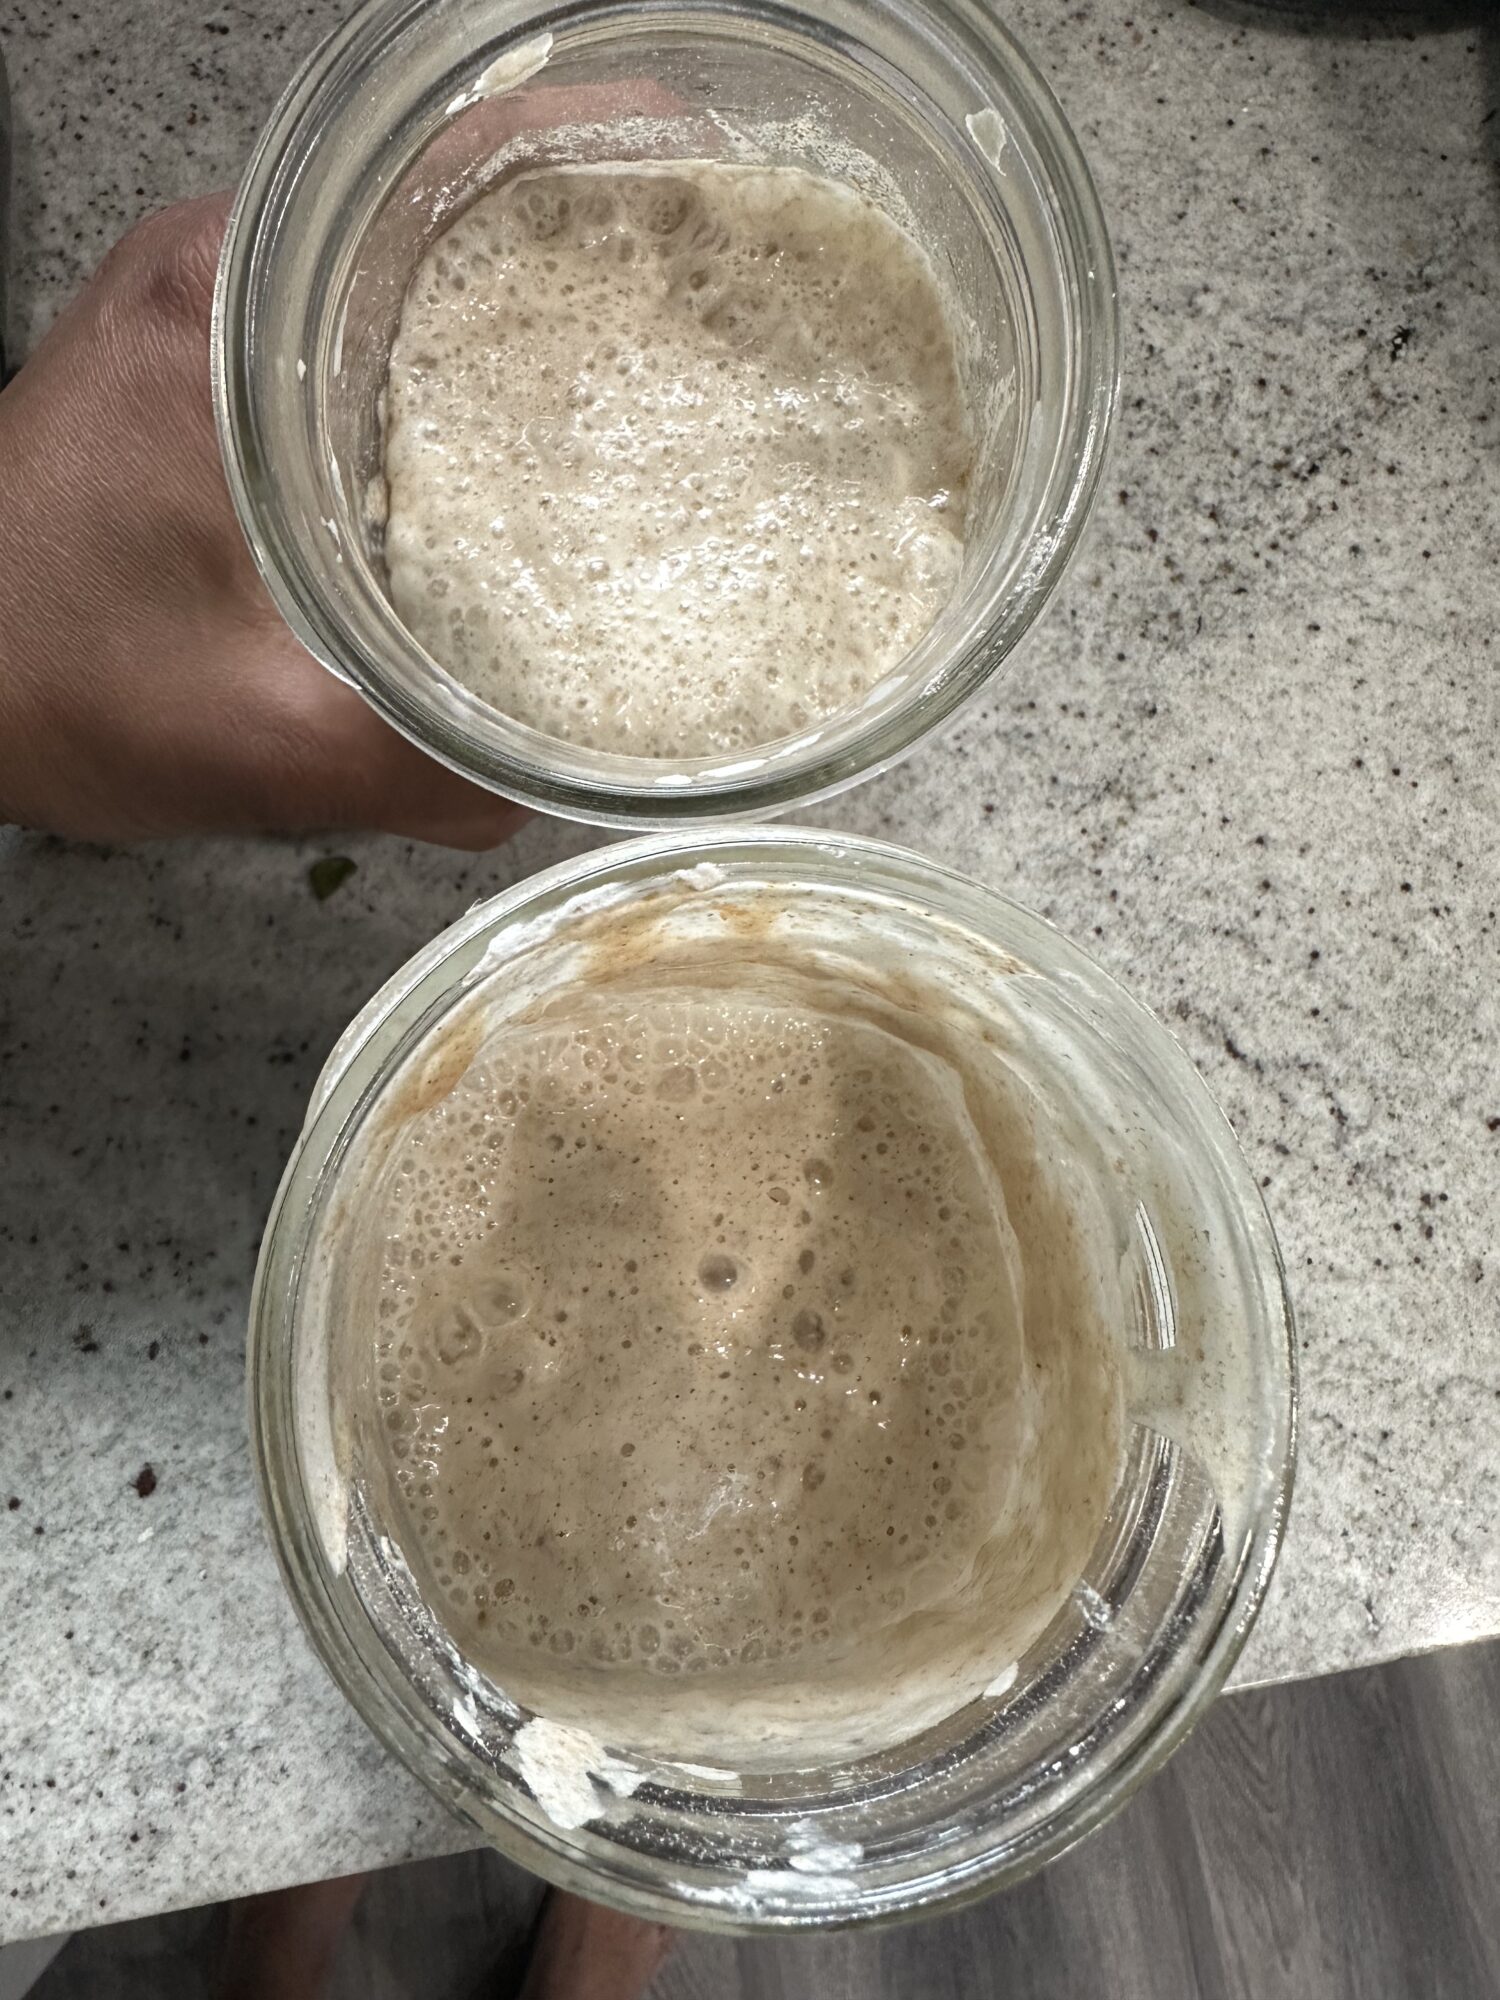
Depending on the temperature of the environment it can take as little as a few days or close to two weeks. I live in hot & humid Florida and most of the year I can have a bubbly starter going in 2-4 days. In the winter it takes a few days longer. So, if you live in a cooler climate it can take longer than those of us in warm climates. You get the idea.
After several days the mix should begin to bubble, indicating that wild yeast is present. At this point, you can transfer a small portion of the mixture (~2-3 tablespoons is good) to a new jar and feed it again with a mixture of equal parts flour and water as mentioned above. This will become your sourdough starter. Continue to feed your starter with equal parts flour and water for several days or until it is even more bubbly and active.

3. Feed the starter regularly
Once your sourdough starter is bubbling and alive, it’s important to feed it regularly. This will help it to stay active and healthy. To feed it, simply add equal parts of flour and water to the starter. Stir it with a spoon, cover it and leave it at room temperature for 12-16 hours. This “feeding” process should be repeated once a day to keep the starter alive. You can also put it in the fridge and feed it once a week. Be sure to discard part of the starter before each feeding. This helps to keep the amount of starter at a manageable level especially if you’re not cooking/baking with it daily.

4. Monitor the starter’s progress
Now that you’ve successfully made your starter, it’s important to monitor its progress. As the starter ferments, it will begin to bubble and rise. Depending on the temperature of your kitchen, this can take anywhere from 1 to 4 days. As the starter ferments, it will become more active and have a strong sour smell. During this time, make sure to “feed” your starter daily. This simply means adding about ½ cup of flour and ½ cup of water every 24 hours. This will keep the starter alive and bubbly. If the starter ever looks inactive and flat, give it a stir and feed it some more flour and water.
5. Begin baking with the starter once it is established
After the starter has been fed, it should be ready to use in baking after about 1-2 weeks. On the first day of using the starter, it is important to feed it, wait for it to become active, and then use it in baking. This process helps to create a strong, active starter that is ready to use in leavening recipes. I usually recommend you start with a simple recipe such as a sourdough loaf and then gradually move on to more complex recipes such as sourdough focaccia or sourdough cakes. It is important to remember to feed the starter at least once a day (if you’re leaving it out at room temperature) and to discard any excess starter to prevent it from becoming too sour. “Discard” doesn’t mean to throw away. It just means you need to discard it from the main starter batch so you don’t have to feed it tons of flour and water daily. That would quickly get out of hand!
6. Use it and nurture the starter over time
Once you have your starter, the next step is to use it! If you’re like me and don’t like the idea of discarding any of your started you’ll want to check out my friend, Lisa at Farmhouse on Boone who has tons of great recipes for using up that sourdough discard. You can check them out in her Sourdough video playlist here.
Once you have your own homegrown sourdough starter you can use it as little or as often as you’d like. If you won’t be baking for a while you can store it in the refrigerator for several months or even freeze it.
In conclusion, creating a wild yeast starter is a great way to make sourdough bread. It uses only ingredients that are readily available in your kitchen and is a safe and natural way to make a delicious, homemade loaf. With patience, trial and error, and a little bit of luck, you can create a sourdough starter that will give you a delicious, freshly-baked loaf of bread that you can be proud of. It’s totally worth the effort!

Don’t have time to wait for sourdough? Try this method for making your own fresh bread with the help of some dry yeast instead.
