If you don’t have an AccuQuilt GO! You are missing out!
Here is my review of the GO! cutter and two dies… and a freebie tutorial! So, you can see just how fast and easy the GO! is to use!
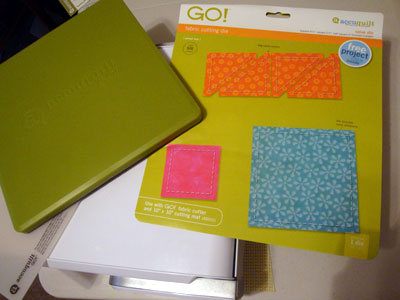
When you get your GO! It comes in a box with a bunch of goodies.  Some people seem to think you only get the cutter but you actually get all this along with it:
  • Exclusive GO! Die featuring:
    • Square-4 1/2″ (4″ finished)
    • Square-2 1/2″ (2″ finished)
    • Half Square-2″ finished triangle (cuts four)
  • GO! Cutting Mat-10″W x 10″H
  • Project idea: GO! for It Quilt
  • Die Pick
  • User Manual

My freebie tutorial uses 2 other dies that are sold seperately:
Tumbler 6 1/2″
2 1/4″ strips


p.s.- If you have already fallen in love with the GO! and are looking to get one of your own our sponsors at Quilting Lodge are offering my readers/followers a 15% discount off the retail price of ANY AccuQuilt GO! product including the cutter! Don’t worry if they don’t have what you want in stock, they will order it for you and still apply the discount! Just email them at: QuiltingLodge{at}gmail{dot}com and tell ’em you heard about their Crafty Gemini special and what you want to order… they will order it for you and it will be in your hands before you know it! GO!Ok.. so here is my GO! review:


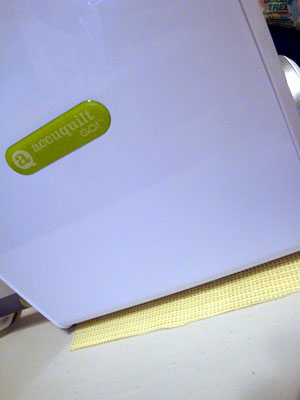
-The table I placed it on has a slick surface so I cut a strip of that shelf lining stuff that helps keep things in place and put it under the GO! to keep it from moving as I cut. It worked like a charm.

-The GO! has a built in handle for carrying around and it opens from the top of that handle.  When I first saw where it opens I was a little skeptical and thought maybe it would pop open on its own because there isn’t an actual closure.  But to my surprise it just folds up together and stays tightly shut.  I like this part because usually when you have plastic parts that have to open and close a lot eventually it will break, etc.  This was great engineering on their part.
– When you first try your GO! you will probably waste a little fabric because you don’t have a feel for how exactly you should be placing your fabric to get the most of it.  But after a few cuts you will figure it out.
-Some other reviews I have read online complain about the amount of fabric waste you get with the GO! but I didn’t find that to be a problem for me because I have six color coordinated bins in my sewing room just for scraps.  I use them for small fusible applique pieces in art quilts and such.
-The design of the GO! is really nice, smooth, and sleek and I like how it can store standing up on its own or laying on one of it’s sides.  Just know that when you go to use it you will need to lay it on a sturdy surface that isn’t butted up against a wall or anything.  You want to have open space on both ends of the GO! to get your fabric and mats in and out if it comfortably.
-Using the GO! is suuuuper easy and I love how safe it is to use! Great for older kids or grandkids to lend a hand with your projects.
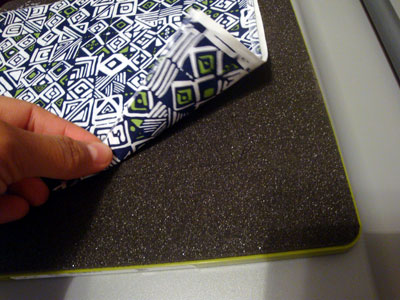
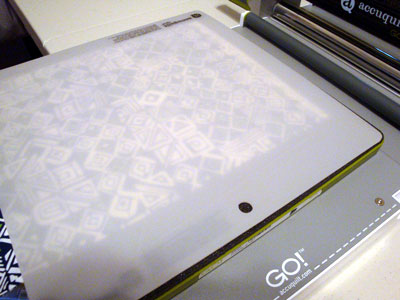
-Simply lay your die foam side up, then place your fabric on top of it, and then the cutting mat on top.  Crank the handle in the direction you want the die to go and… voila!  DONE.
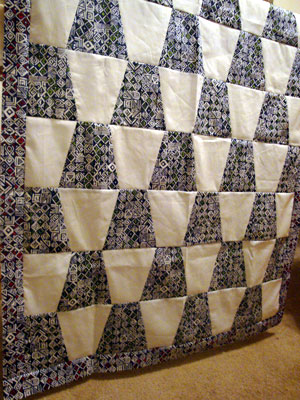
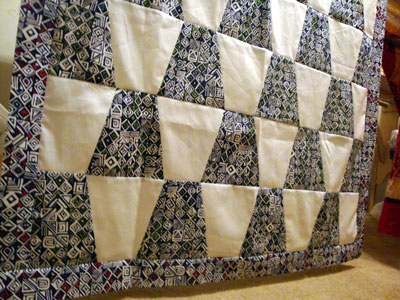
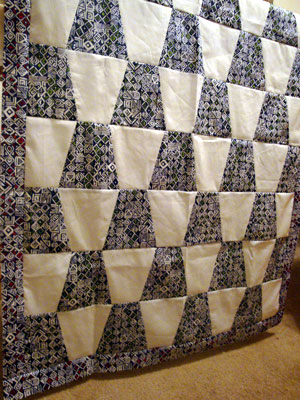
Here is your freebie tutorial for this super quick quilt:
fyi- I’ve been known to pump out a completely pieced quilt top in 5 hours….and just so you know I made this entire quilt in record time today while my baby took his nap…. yea, in less than 1.5 hours.
Amazing?…. I think so!
Each die has instructions, recommended fabric size and placement, and a project idea.  The instructions say to cut a 7.5″ strip for the Tumbler block.
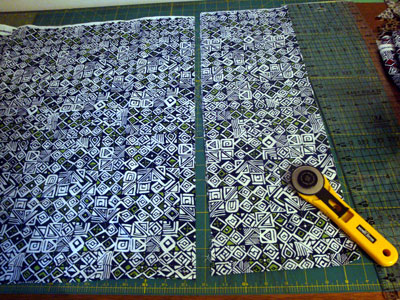
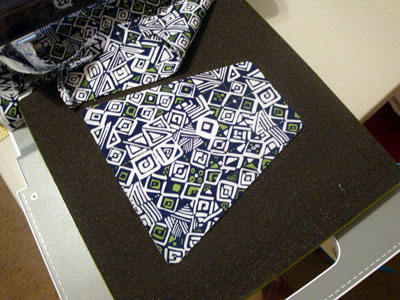
 Then lay the strip over the foam of the die. Make sure the selvages are not going to be part of your finished Tumbler block.  Here you see me making sure my fabric is over the (very faint) blade lines. I first started off with only the folded (2 layers) strip of fabric. NOTE:  You can get 7 Tumbler blocks from one 7.5″ strip but you have to make sure you start cutting on the selvage (not the folded) end of your strip.  So, you can open that fold up to get the 7th block.
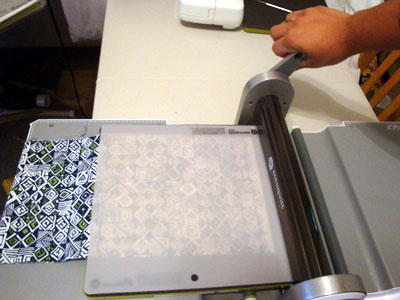
 Then place the corresponding cutting mat on top of the fabric.  Each die has a mat that matches up with it.  I think there are 3 different size mats.  The one I used here is the 10″ x 10″ mat that comes with the GO!

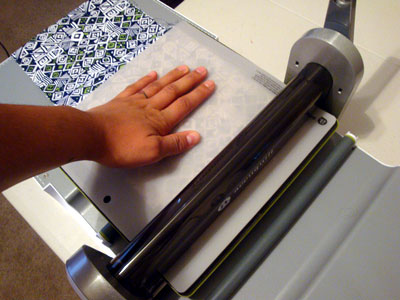
Now feed it through your GO! and crank the handle in the direction you want the fabric to go. I like to place my hand on the mat as I crank it through to make sure nothing moves and that the fabric doesn’t budge.

  Once you remove the mat you will have two Tumbler blocks done. Repeat this two more times (alternating the orientation of the die each time you cut to conserve fabric), then open the fold of your strip and cut one more block.  Repeat this with five more strips until you get a total of 32 Tumbler blocks.
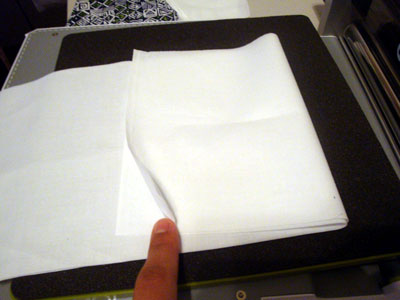
Then I did the same thing with a plain white fabric.  Here I figured out how to get the same seven blocks from one strip but saving myself even more time but cutting the first four in one swoop. I folded the open end of the strip on itself just enough to cover the blades on the die. Then put my mat on top and in a few seconds I had four blocks. Repeat with five strips until you get 32 white Tumbler blocks.
To sew the blocks together was the funnest part for me!  Yes, me… the one that enjoys cutting fabric a lot more than piecing!  But because there were no dog ears to trim and because the cuts were so darn precise every point matched up amazingly perfect!
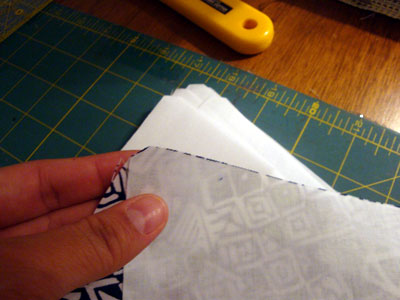
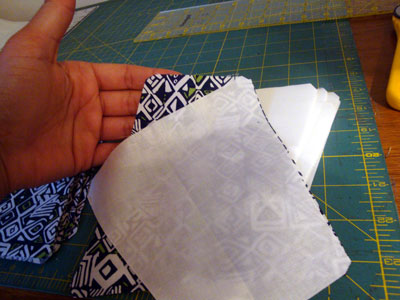
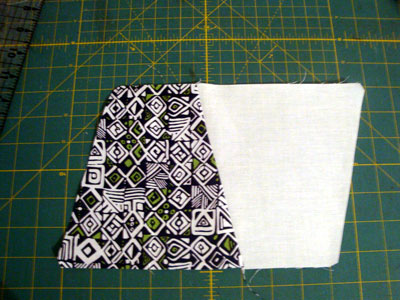
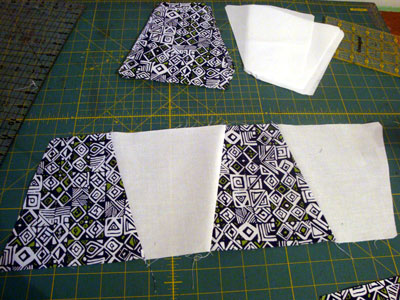
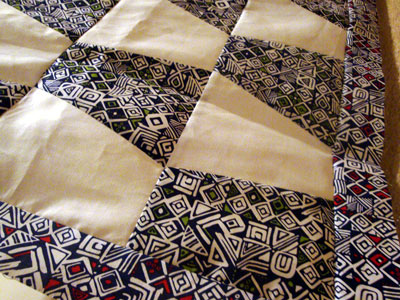
Just line up the trimmed dog ear corners to each other, making sure the blocks are lined up so that one of the fabrics has the narrow tip of the Tumbler facing up and the other fabric has it facing down.  Otherwise, they won’t lay in a straight strip when sewed together. Press seam allowance towards the darker fabric every time.  This pattern is perfect for a beginner because pressing all the blocks towards the darker fabric makes sure all your seams will abut perfectly when you are sewing the rows together. Try it!

It may look a little crazy but trust me… when you open it up and press it it’s perfect.

  Continue adding alternating blocks like this until you get eight blocks (4 blocks of each fabric) across and eight rows down.
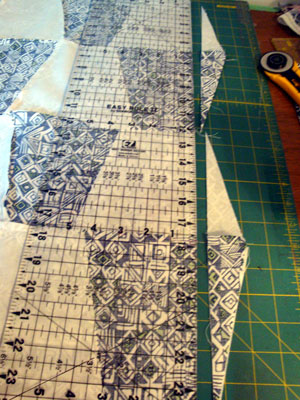
Now, I know you see that your edges are not straight… no biggie.  I just folded the quilt top in half (pretty sides touching) making sure everything matched up perfectly and carefully took a ruler and rotary cutter and cut off the excess on both sides.
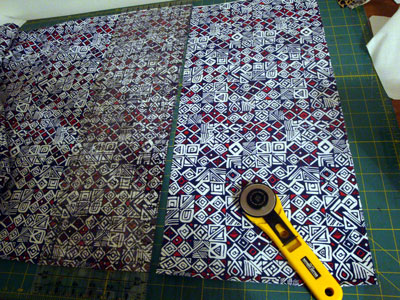
Time to add borders! For this I used the 2 1/4″ strip die.  I first cut a roughly 10″ wide piece of fabric.  Then put in on the strip die with the foam side up.  Put the 10″ x 24″ corresponding cutting mat over top and cut away.  Do you know this die cuts FOUR strips at the same time?!  I love it.

Sew top and bottom borders first.  Trim flush with sides of quilt.  Sew side borders and trim flush with top and bottom of quilt.  Now it’s ready to be quilted!

Finished quilt measures: 37″ x 51″
This quilt is for my DS and I can’t wait to free-motion some spirals on it for him.
I know he will love it as he grows into it.
hmmm… I feel dozens of quilts coming on just this weekend!
Thank you AccuQuilt!  This is a fabulous invention especially for super-busy-working-stay-at-home-mom-quilters like me!

17 replies on “Go AccuQuilt GO!

Leave a Reply

Your email address will not be published. Required fields are marked *

This site uses Akismet to reduce spam. Learn how your comment data is processed.