DIY a Curly Hair Wrap
Are you in need of a curly hair wrap? My curly hair has gone through so many different phases over the years. The texture and shape of my curls has changed multiple times. After having children my hair changed so much I didn’t even know how to deal with it. Once I found myself chasing toddlers and tending to the homestead I decided it would just be easier to keep it up in a ponytail or bun. After a while of that I got locs and after two years of that I wanted a change and cut it all off. Now, I’m letting it grow out so we’ll see how long that lasts.
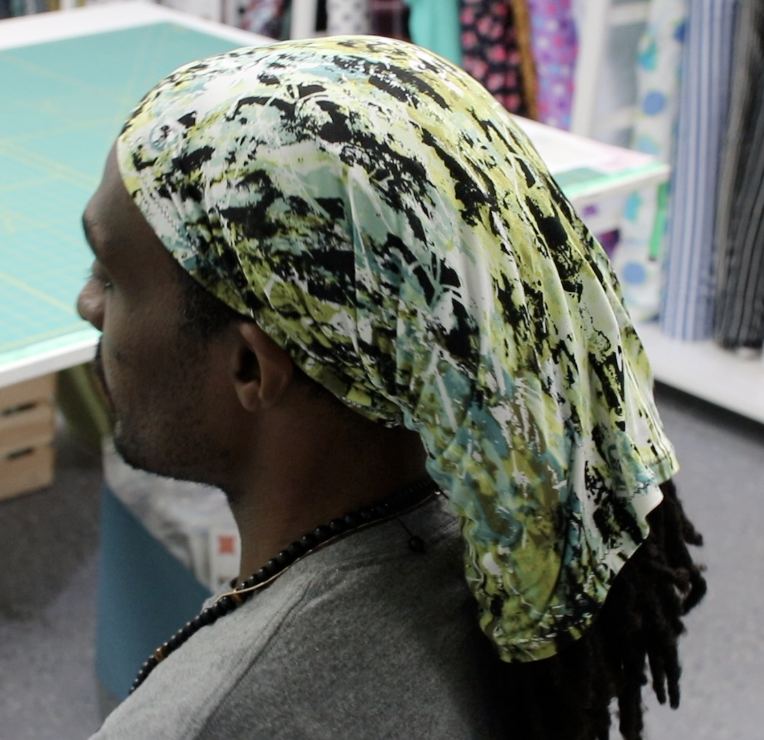
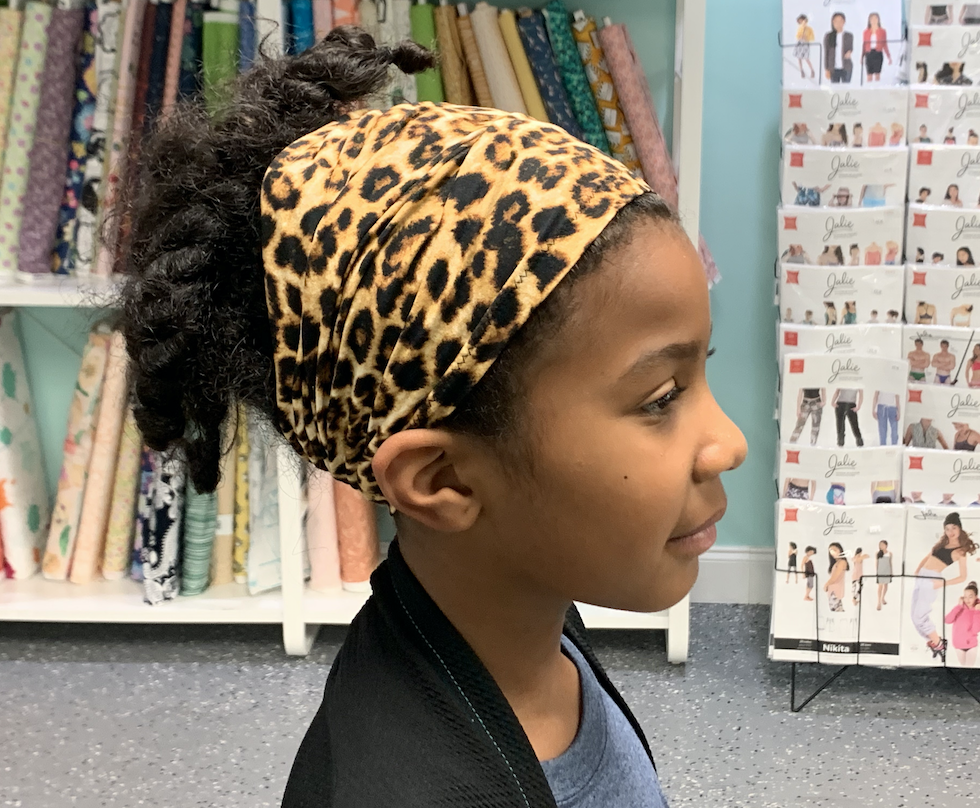
Everyone in my house has a different hair texture and I currently style everyone’s hair here except my son’s. He goes to a barber every week or two for a trim. I upkeep my husband’s locs and style my daughter’s thick & lush curly hair, too.
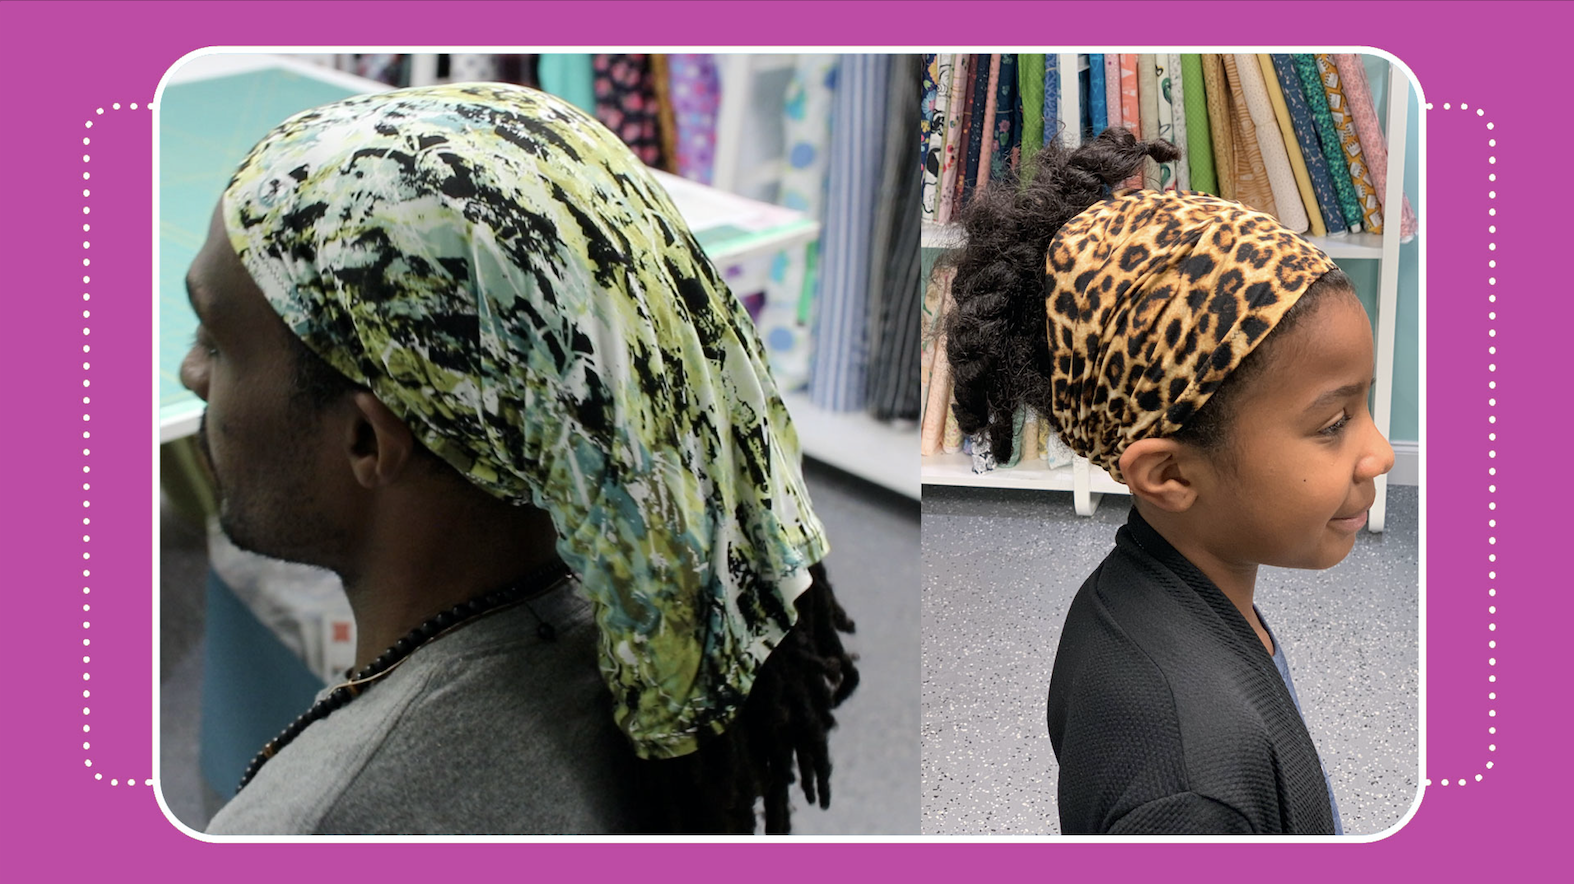
The one thing the three of us with longer hair have in common is that we LOVE these curly hair wraps. I like to call them “hair tubes.” They are SO easy to make and have several uses.
It is what we use to wrap our curly or natural hair at night before bed. If you’ve never tried a hair tube like this, I highly recommend it!
3 reasons for using this style of hair wrap are:
- I can wear it to work on the farm and it helps keep hay and other stuff out of my hair.
- I wear one to go to bed at night. It helps lengthen the time between wash days and allows the curls to stay intact while I sleep.
- I can wear it as an accessory. Like a headband! It’s great for working out or when I have a bad hair day and just want to cover it up.
I filmed a step-by-step video tutorial for those of you that sew or want to learn how to make these head wraps. If you are already a confident beginner you will have no problem making them!

What you’ll need to make the hair wrap:
• Adult size: One square of 4-way stretch double brushed poly spandex fabric cut to 18″ x 18″.
• Child size: One rectangle of 4-way stretch double brushed poly spandex fabric cut to 16.5″ x 13″.
• Cutting tools (scissors, rotary cutter, etc)
• Measuring tools (rulers, measuring tape, etc.)
• Quality 100% Polyester thread (40-50 wt) in matching color
• Ball point pins, plastic clips, etc. (something to hold your fabric with)
• Universal or ballpoint jersey sewing machine needle in size 70/10 or 80/12 (both work fine for me.)
• Iron and ironing board (optional but helpful!)
• Sewing machine with zig zag stitch capability

Directions:
Step 1: Cut fabric to dimensions listed above for the size you are making, either Child or Adult. Note: If cutting the child size make sure the 16.5″ measurement is cut so that it is in line with the degree of greatest stretch (crosswise grain) of the fabric.
Step 2: Orient your square or rectangle of fabric so that the crosswise grain (greatest stretch) is running horizontally in front of you with pretty side of the fabric facing up. Pick up the top right and bottom right corners of the fabric and fold it over towards the left to meet the top left and bottom left corners of the fabric piece. Pretty sides of the fabric should be touching. Place pins or clips along that left side edge and using a 1/4″-3/8″ seam allowance and a narrow zig zag (stretch or lightning) stitch to sew down that size.
Step 3: On both ends of the tube you’ve created turn the raw edge towards the wrong side of the fabric by 1/2″-3/4″ and lightly press to hold the hem in place. Repeat to opposite end of tube.
Step 4: Using a zig zag stitch and stitching from the pretty side of the tube stitch around one end to secure the hem in place. Repeat to the other end of tube.
That’s it! After you make one you will see that this project takes less than 15 minutes to complete.
Watch my FREE video tutorial here and give it a try! These hair tubes make a great gift for anyone with curly or natural hair.
Once you’re ready for more hair accessories, try this simple Headband Tutorial!

E.T. Romano
Looks like it might work for a chemo cap too!!
Vanessa Vargas Wilson
I don’t see why not. Go for it!
Judy Thompson
I think I’ll wip up a few for my daughter who has super curly hair. Stocking stuffer!
Vanessa Vargas Wilson
She will love it!!
Stephanie D Ladner
Thanks, Vanessa. I was ordering these, but not anymore. I am about to put in some Boho Locs and these will be a great option to have, especially for when I do Cub Scouts and bedtime. Merry Christmas and Have a Blessed New Year for you and your family.
Vanessa Vargas Wilson
Yesss! You’ll love ‘em. Same to you!
Patty
Great video, would love to make some of these, but have to pay q visit to your shop for fabric one of these days when im back in town.
Julie
Thanks Vanessa. I was one of your original followers and fell off sewing. Great to see you are still inspiring us by sharing your projects and teaching us to sew. I am just getting back to sewing and decided to make ‘just because’ gifts for family and friends. I really like this tube. Thank you again! Sending blessing to you and your family!