
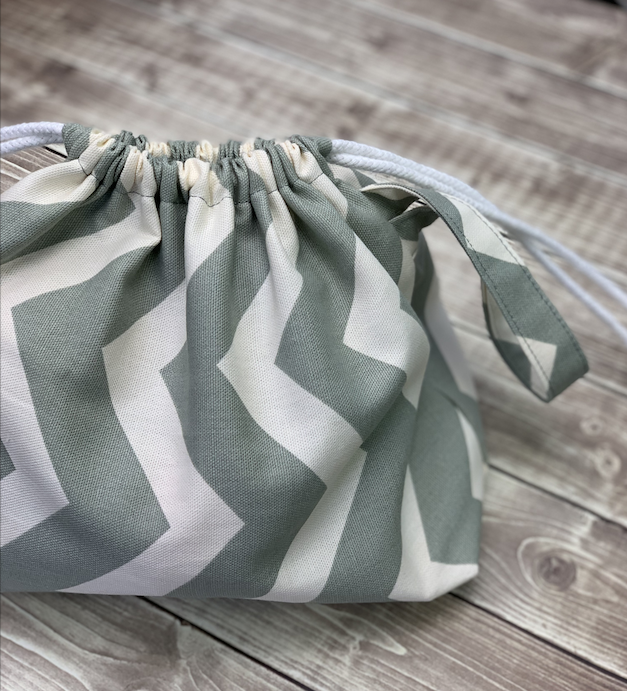
Day 10 of 12 Days of Last Minute DIY Gifts is here! This quick and easy drawstring project bag makes the perfect gift for anyone who takes their crafty projects with them on the go. Think crocheters, knitters, hand embroiderers, etc. This medium size project bag finishes with no raw edges on the inside seams. And it’s unlined! If you’re wondering how to do that watch the video below!
For this project I use 100% cotton home decor weight fabric because it has more weight to it than quilting cotton. For more tips on fabrics to use for this project bag watch the video tutorial below.
Becky Rosen
Hey Vanessa. I learned a neat seam from looking at some African made dresses. To make a straight finished seam you start with two pieces of fabric with wrong sides together and stitch a tiny seam being sure to catch both edges then turn the fabric with right sides together and stitch again just wide enough so that the raw edges get incased. Press the finished seam flat. Thought you might could use this in your bags. I had sewed for many years but never saw this type seam before. See what you think.
Dee Bodnar
Becky, that sounds like a French seam . You explained it very well.
Sally Dehlinger
Wonderful little drawstring bag project. Thanks so much.
Morag
I found it a bit troubling that the ends of the casing are pointing towards the inside of the bag from doing the second side seam. Is there a way of doing it so that the edge of the casing doesn’t stick out beyond the side seam?
Lorrie M.
I love your videos! I have learned so much; you are such a good teacher!
I just really started sewing a few months ago so I guess I would call myself an “advanced beginner”! Please continue your tutorials!
Do you have a beginner quilting class?
Jan
Love this quick & easy-looking project bag, thanks for sharing!