It’s Monday! We all know what that means…. a new video tutorial!
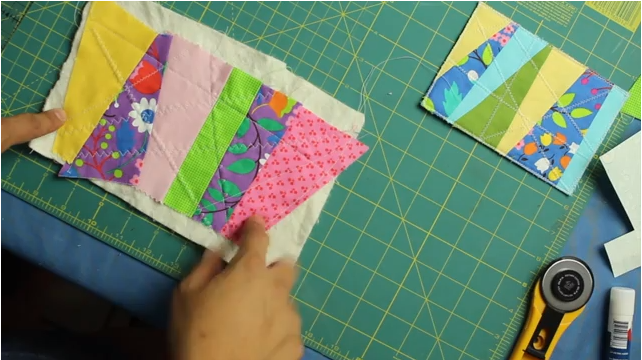
In this video I teach you how to make some quick and easy fabric postcards that can actually be mailed!
This has been a popular project in the crafting world for a while now but no matter how easy and common I think it is I always have new followers that have never heard of it so I was asked to make a tutorial for it.
This is the perfect project to use up those fabric and batting scraps because that’s pretty much all you need!
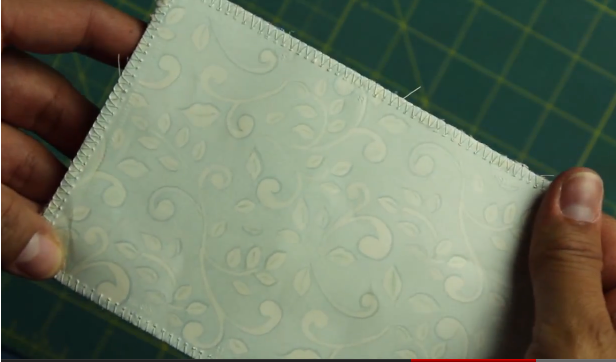
I like to sew paper to the back side of the postcard instead of fabric because its easier to write on and the mail stamps stick perfectly to them. You can use whichever you prefer.
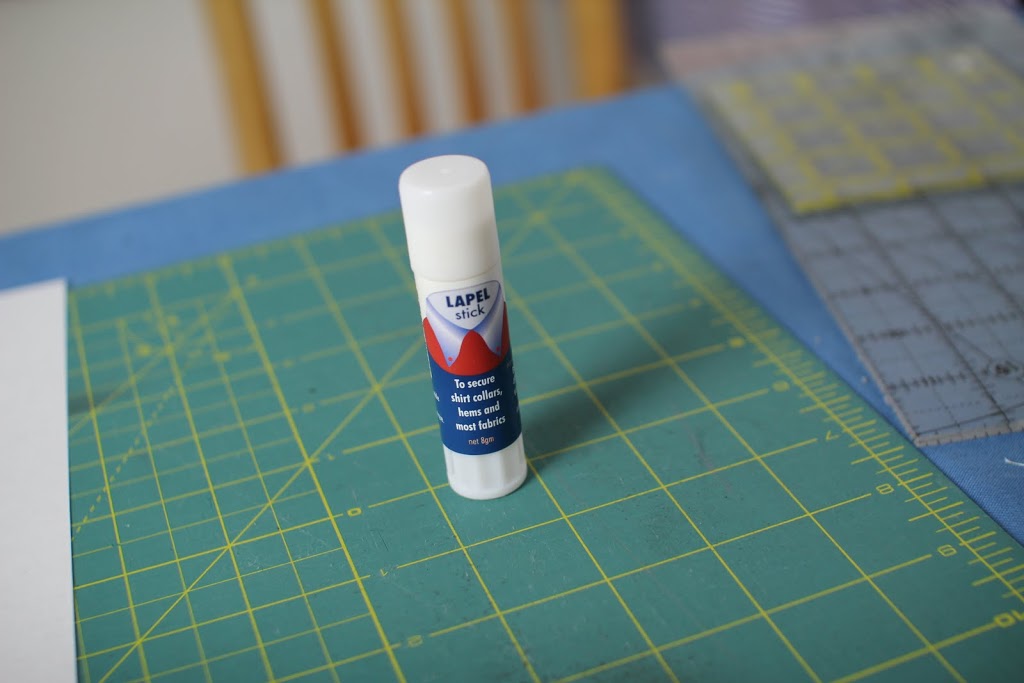
This was also my first time using a new fabric glue stick that I was recently introduced to called the “Lapel Stick.” A big thanks to the makers of the lapel stick for sending me this complimentary tube for me to try. It’s for all kinds of fabric and I was really impressed at how it held together the fabric to the batting and also the paper to the batting on the backside. It wasn’t thick and gloppy like some regular craft glue sticks are. It slid right on and it goes on invisible. If you want to see how it performed on camera check it out in the video tutorial below.
All the supplies you’ll need:
• Scrap Fabric
• Scrap Batting
• Lapel Stick
• Rotary Cutter
• Rotary Mat
• Ruler
Shop tools and notions here in the Crafty Gemini Shop.
Here’s the video tutorial on How to Make Quilted Fabric Postcards. I hope you enjoy it!
P.S. The Crafty Gemini mobile app is almost ready for both Android and iPhones! I’ll let you know as soon as its up and available for you! It’s gonna be free, too!


Bea Lee
LOVE them ! Vanessa 🙂 that’s great, I have a quilting friend coming for a playdate today, so THIS will be our project!
and GREAT quality videos, way to GO! -not the least bit jealous LOL
Crafty Gemini
haha.. thanks, Bea! Yea, they take a lot longer to film and edit. But I love what I do so it’s all good! Glad you enjoyed the tutorial. Feel free to share with other friends.
ga447
I received a postcard and it put such a smile on my face. This is on my list for next week, I need to make a few of them and can use them for lots of occasions. The one I have is a bird house and she use variegated thread.
Crafty Gemini
These are so sweet when you get them in the mail. I used to make them with my cousins and would have them mail them home to their parents while they were away at my house in the summer. They were always a hit! You can do easy fusible applique on them and create little works of art or landscapes! Hope you have fun! :o)
Anonymous
Great idea – I’m thinking of changing this up just a bit to do some folded thank you cards with fabric scraps I have (doing the quilting on the front flap of the card) 🙂
printing services New York
That is so sweet, I like the idea of fabric postcard. I will make one this weekend for my cousin.
bubzbeauty
wow its so cool 😀
Anonymous
Plan on using this idea to make Christmas post-cards this year. Can’t wait until the Christmas material comes out. I just love your videos and wish I lived closer to take class in person.
conishkee
Hi Vanessa, I thought this would be a great idea to make a few as gifts, put them in a gift box and — Merry Christmas! However, how would it work since you have to address them “first” before adhering them to the back side of the quilted card? To write the address after the fact would cause, I think, the pen to puncture the paper. Unless one has mailing stickers, but, then again, one couldn’t put in a message without ruining the paper. I’m trying to figure it out. What do you think?
Vanessa Wilson
Hi! I like to use Micron pens(http://amzn.to/UiZrLN) to write on it so it’s not actually a ball point tip going into the paper. I’ve never had a problem with them. Also, I’ve used scrapbooking cardstock paper which is sturdier than plain paper. Hope that helps!
Anonymous
I have used watercolor post cards that are very easy to write on with the Gel Pens for “color”. In MD I have no problem sending them with the normal post card postage – if I want to protect them by putting inside a clear cello resealable envelope, then they charge me regular postage because it is then a letter with envelope. If I put cute felt stick-ons to decorate, the charge me a little more – make sure and check with the post office you are using as they are all different. You can also sew a very tiny jewelry “o” ring so the recepient can hang as a little decoration. My son-in-law is now spoiled and only want my cards!
conishkee
Vanessa, I just figured that one could use a thin cardboard as opposed to regular paper. This way, if one writes lightly with a pen that glides easily, it would work. And there you have it — situation solved!! And by the way, HAPPY HALLOWEEN to your beautiful children!! Hope they have a blast.
Vanessa Wilson
That would definitely work too. Have fun! Thanks! We went to the local zoo for a Boo at the Zoo event and the kids loved it!
Anonymous
Great Idea! Mail to your quilting friends and they mail thier’s to you, now you can use in a quilters friendship quilt……or wall hanging
tempest sharp
I would think that if you mailed this, it would end up getting caught in a machine at the post office, get dirty, or get lost
Vanessa Vargas Wilson
Nope. I’ve been mailing these for years. The post office charges a minimal fee to process it by hand so it doesn’t get sorted by a machine. And that’s it. They make great little gifts. 🙂
Vicki Jo
Love the fabric postcard tutorial. I will be trying that and will send to my granddaughters.. They will get a kick out of those. I have been making some of your little fabric quilted boxes too. Love those.. You’ve got me at my machine again!!!!!