
The kids and I spend a lot of time outside on our little farm. On rainy days, though, I have to find different things for them to do and I have to make sure I keep it fresh with new projects and activities. So, this past week I brought them inside my studio to make some play king and queen crowns. My son loves to pretend he is a king and has his own kingdom so this craft project was right up his alley. It’s probably because his middle name is Rey, the word for king in Spanish. My daughter {our free spirited firecracker} more than lives up to her middle name, Reina, which means queen in Spanish. They both had a lot of fun helping me make the crowns and even got to help use the machine. As you’ll see in the video they are super easy to make with the Brother Scan N Cut machine.

There are no cartridges or dies needed with the Scan N Cut. The crowns and strips for the headband are all pre-loaded designs in the machine. So easy!

 |
||
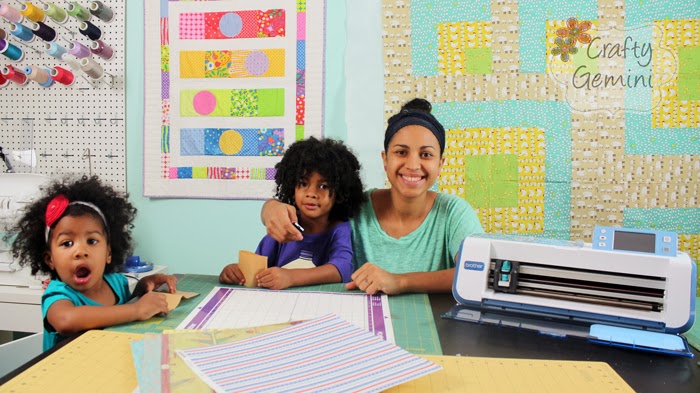
| The kids and I in my studio getting ready to start our craft project. |
 |
|
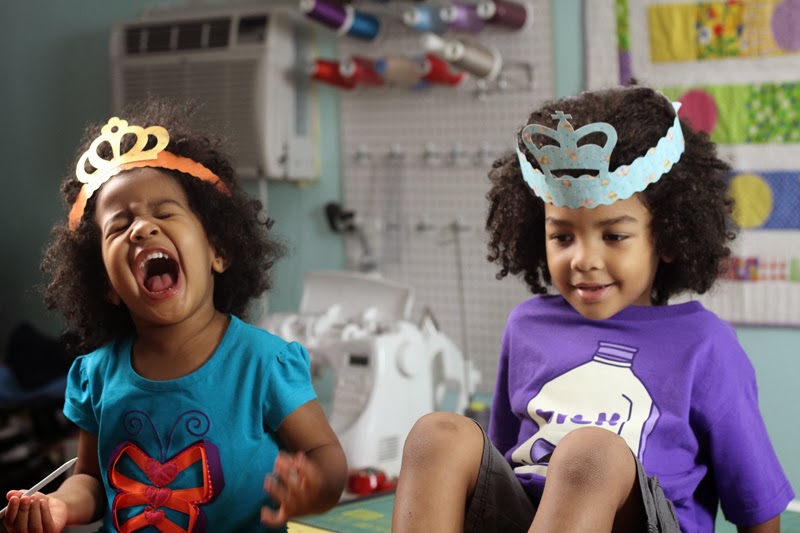
| Don’t mind my free spirited firecracker… she is a piece of work! lol |
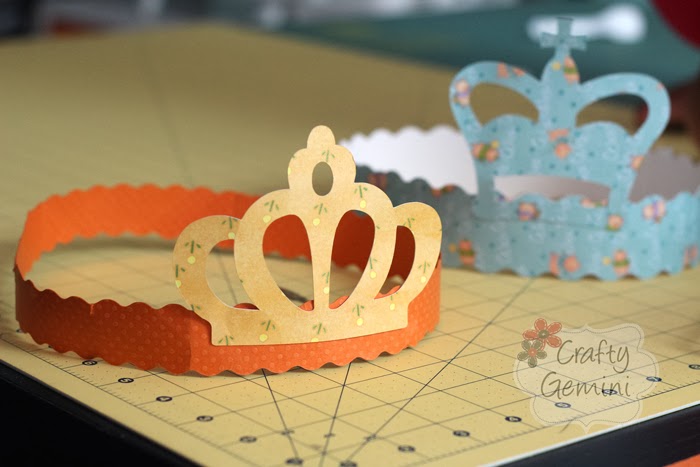 |
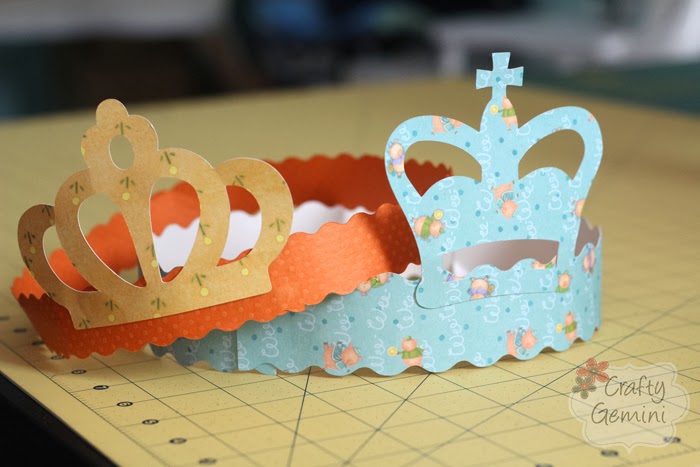
| Finished crowns. |
If you are going to give this project a try be sure to use cardstock. It holds up better than the printed scrapbook paper. Next time we make these I think I will cut them out of just white cardstock and have the kids embellish their own crown with paint, markers, pom poms, buttons, etc. This would be a great play date project or homeschooling activity for your little ones.


Rejina Tyson
Que Cute!!! Um…can I get a crown though?!
This is such a quick and fun activity for kids and big kids alike! Love this video. 🙂
Barbara Thomas
Your children are absolutely ADORABLE!!!! Enjoy your Mothers Day!