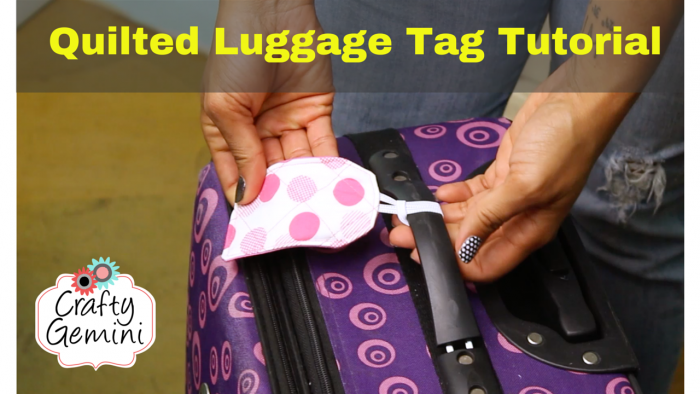
I’m late writing this post but wanted to make sure you didn’t miss my latest FREE video tutorial!
I’m back to post a new video tutorial to my YouTube channel every Monday now. So, to make sure you don’t miss any of them click HERE to subscribe to my channel.
If you’re traveling this summer take a few minutes and make yourself a quilted luggage tag. It’s so easy to make you will want to make one for every one you know! Seriously, it’s a fab scrap buster. You can use up those orphan charm squares and a little piece of elastic and vinyl. I use a piece of an index card to write down my name and address and then slip it in the little clear pocket. That’s it!
I wanted to give a big thanks to Christina over at A Few Scraps. She’s an amazing quilter! If you don’t know her be sure to check out her blog. I got the idea for these luggage tags from her tutorial and it was so crazy easy I thought I’d make a video tutorial for you to enjoy. If you prefer the text & picture tutorial you can click here to check it out on her blog.
Now I’ll leave you with the step-by-step video tutorial. Enjoy!
{P.S.- If you’re into free motion quilting (or want to learn), check out Christina’s Craftsy classes —> Free Motion Quilting Essentials and The Secrets of Free-Motion Quilting. Both classes are great whether you’re a beginner, need a refresher or are looking for inspiration for quilting your next quilt. I recommend them both!


Julie
This is awesome! Will make a few tomorrow for an upcoming vacation!!!! Thanks so much!
Dora
This is a great idea! Not much fabric and not time consuming. Vacation is near and will be making some of these tags. Thanks for sharing!!
Linda
I was just researching a pattern for quilted luggage tags and happened across your fun and easy tutorial.
I’m heading to China in a week, but just realized that my new suitcases don’t have luggage tags, and. I’ve just moved anyway. Ergo, I need new luggage tags to put in my new address.
I love how simple and quick these are to make. Therefore, I will make a few of them tomorrow.
Thanks for the tutorial!