I’m back! I’m determined to get back to blogging. I can hardly believe it’s almost been a year since my last blog post. AHHH! My apologies.
Unfortunately, making videos, designing projects and fabric collections, traveling and homeschooling two young kids gets in the way of writing blog posts. But, here I am. Planning to write short and sweet blog posts that will make it more manageable & sustainable for me to maintain.
So, I’m back with a new machine embroidery video tutorial! [To watch a video update of what all I’ve been up to click here.]
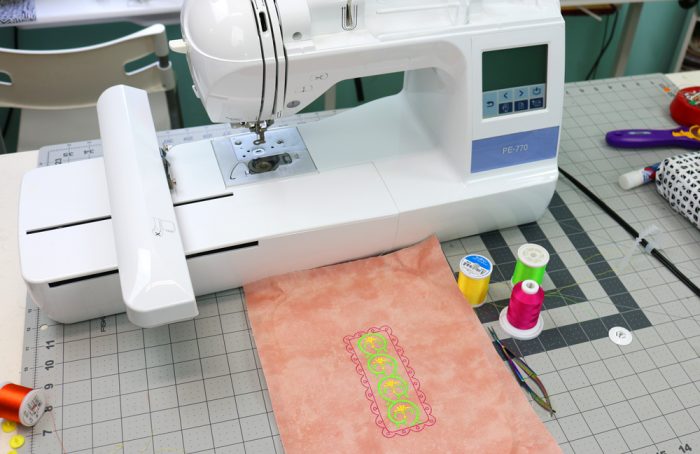
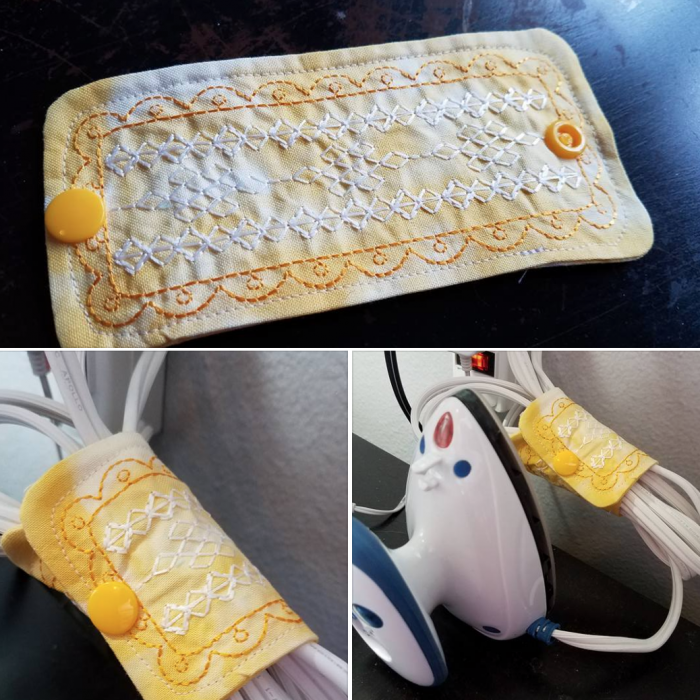
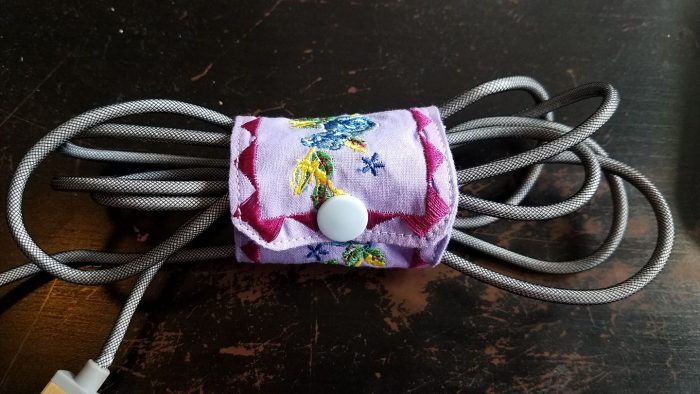
I made this video tutorial on a cord keeper because it’s a quick and simple project but it also allows you to familiarize yourself a little more with your embroidery machine. This tutorial was filmed on my Brother PE770 embroidery machine but as you can see in the images below, some of you have already made these cute cord keepers on different embroidery machines! Play with the built-in designs and frames. It’s a lot of fun!
If you’re in the market for an entry-level embroidery machine definitely check out the one I used. Scroll down a bit and click the video player below to watch the step-by-step video tutorial on how to make a cord keeper on your Brother PE770 embroidery machine!
Note: If you don’t have an embroidery machine simply cut two pieces of fabric at 3″ x 6″ and then follow the sewing instructions as explained in the video tutorial to complete the cord keeper. Remember, you don’t need to have an embroidery machine to do this! You can hand embroider a cute design or just let the fabric print shine by itself. Have fun with it!

Image provided by Jennifer J. She used a slightly different Brother embroidery machine to make this cord keeper.

Image provided by Jennifer J. She used a slightly different Brother embroidery machine to make this cord keeper.
The list of where to find some of the supplies used in this video are:
* Brother PE770 embroidery machine
* Crafty Gemini® Cut-It-Away Stabilizer
* Snap kit & pliers
* Temporary spray adhesive
* My favorite thread snips for embroidery

Fumix Akintola
Hi Vanessa, one quick question, if I have the spirit babylock machine, I don’t need to buy this right ?
Vanessa Vargas Wilson
No. The Baby Lock Spirit is a lot fancier than this machine.
Diane Kitlica
Thank you for the wonderful tutorial on the Christmas stocking assemblage! You’re a great teacher!
JESS PEAK
Thank you Vanessa, I have this machine and usually use purchased designs, use inbuilt designs and add text etc. I never thought of actually adjusting the inbuilt features, increasing frames etc. and making my own In The Hoop Projects. Must kick start and expand my creative thinking. Jess
Teresa Bridges
I have this machine and you make it look so easy. Thank you for showing us how to use our Brother PE 770. I would like to learn more about the different stabilizers needed for different projects. I get caught up with buying so many different kinds of stabilizers that I am confused. One more thing How to HOOP the stabilizer and the fabric. I find it so hard to do
Thank you
Sue
Thank you for this wonderful tutorial. I have this machine and have not used the designs built into the machine at all but have done A LOT of purchased designs on it. This helps me think “outside the box” and use the built in designs more often. One tip I would give you is when you are done with a design, you can hit the first black framed button on the bottom left and it will take you right to deleting the design which is much quicker than pressing the back button.
Beverly Bland
Adorable. Love the fact that different sizes could be created for different types of cords. Will definitely give this a try. Thank you. Your instructions are very easy to follow.
Beverly Bland
Bloopers were cute.
Linda
Great idea for stocking stuffers
Debra Brown
It was great tutorial. I don’t have embroidery machine but love hand embroidery. I am going to attempt to make this its a great idea my cords drive me crazy. Also never felt confident about using the snaps so this is a beginners snap project.You are very clear in explaining too. Thanks
Brother Embroidery Machines
Great work, Thanks for sharing it.
Brenda Prince
Very easy!