
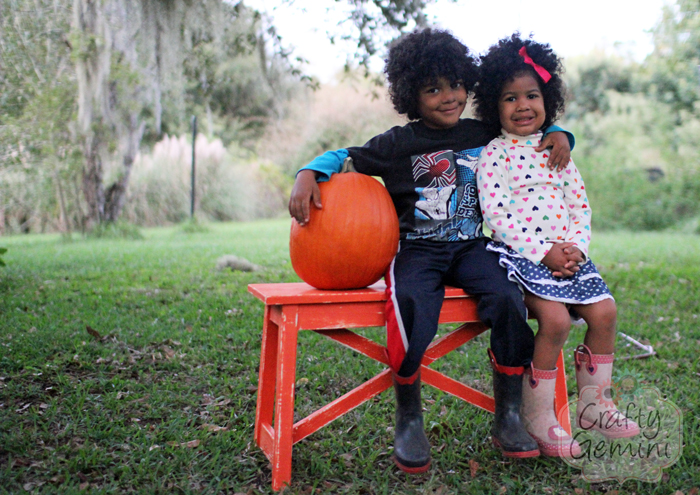
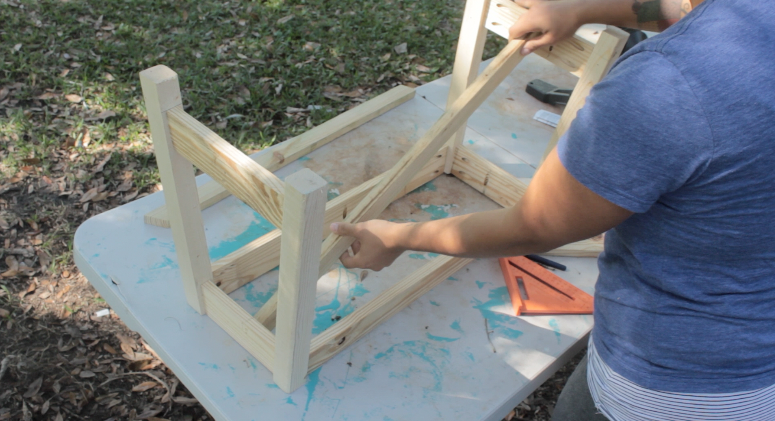
I recently built a cute little rustic bench using these free plans and filmed how I painted it to give it a distressed look. The video tutorial is in Spanish because it was a paint project I was hired to do for the Sherwin-Williams Latino website.
Don’t let that discourage you! I’ve added English captions to the video so you can follow along. Even if you don’t understand Spanish you will be able to apply this technique to whatever furniture piece you want. The process is surprisingly simple and I show plenty of close up shots so you can see that I am not afraid to really beat up and sand down the project. It’s actually really fun because you can’t mess it up! The more banged up your piece is the more it adds to that rustic and worn look.
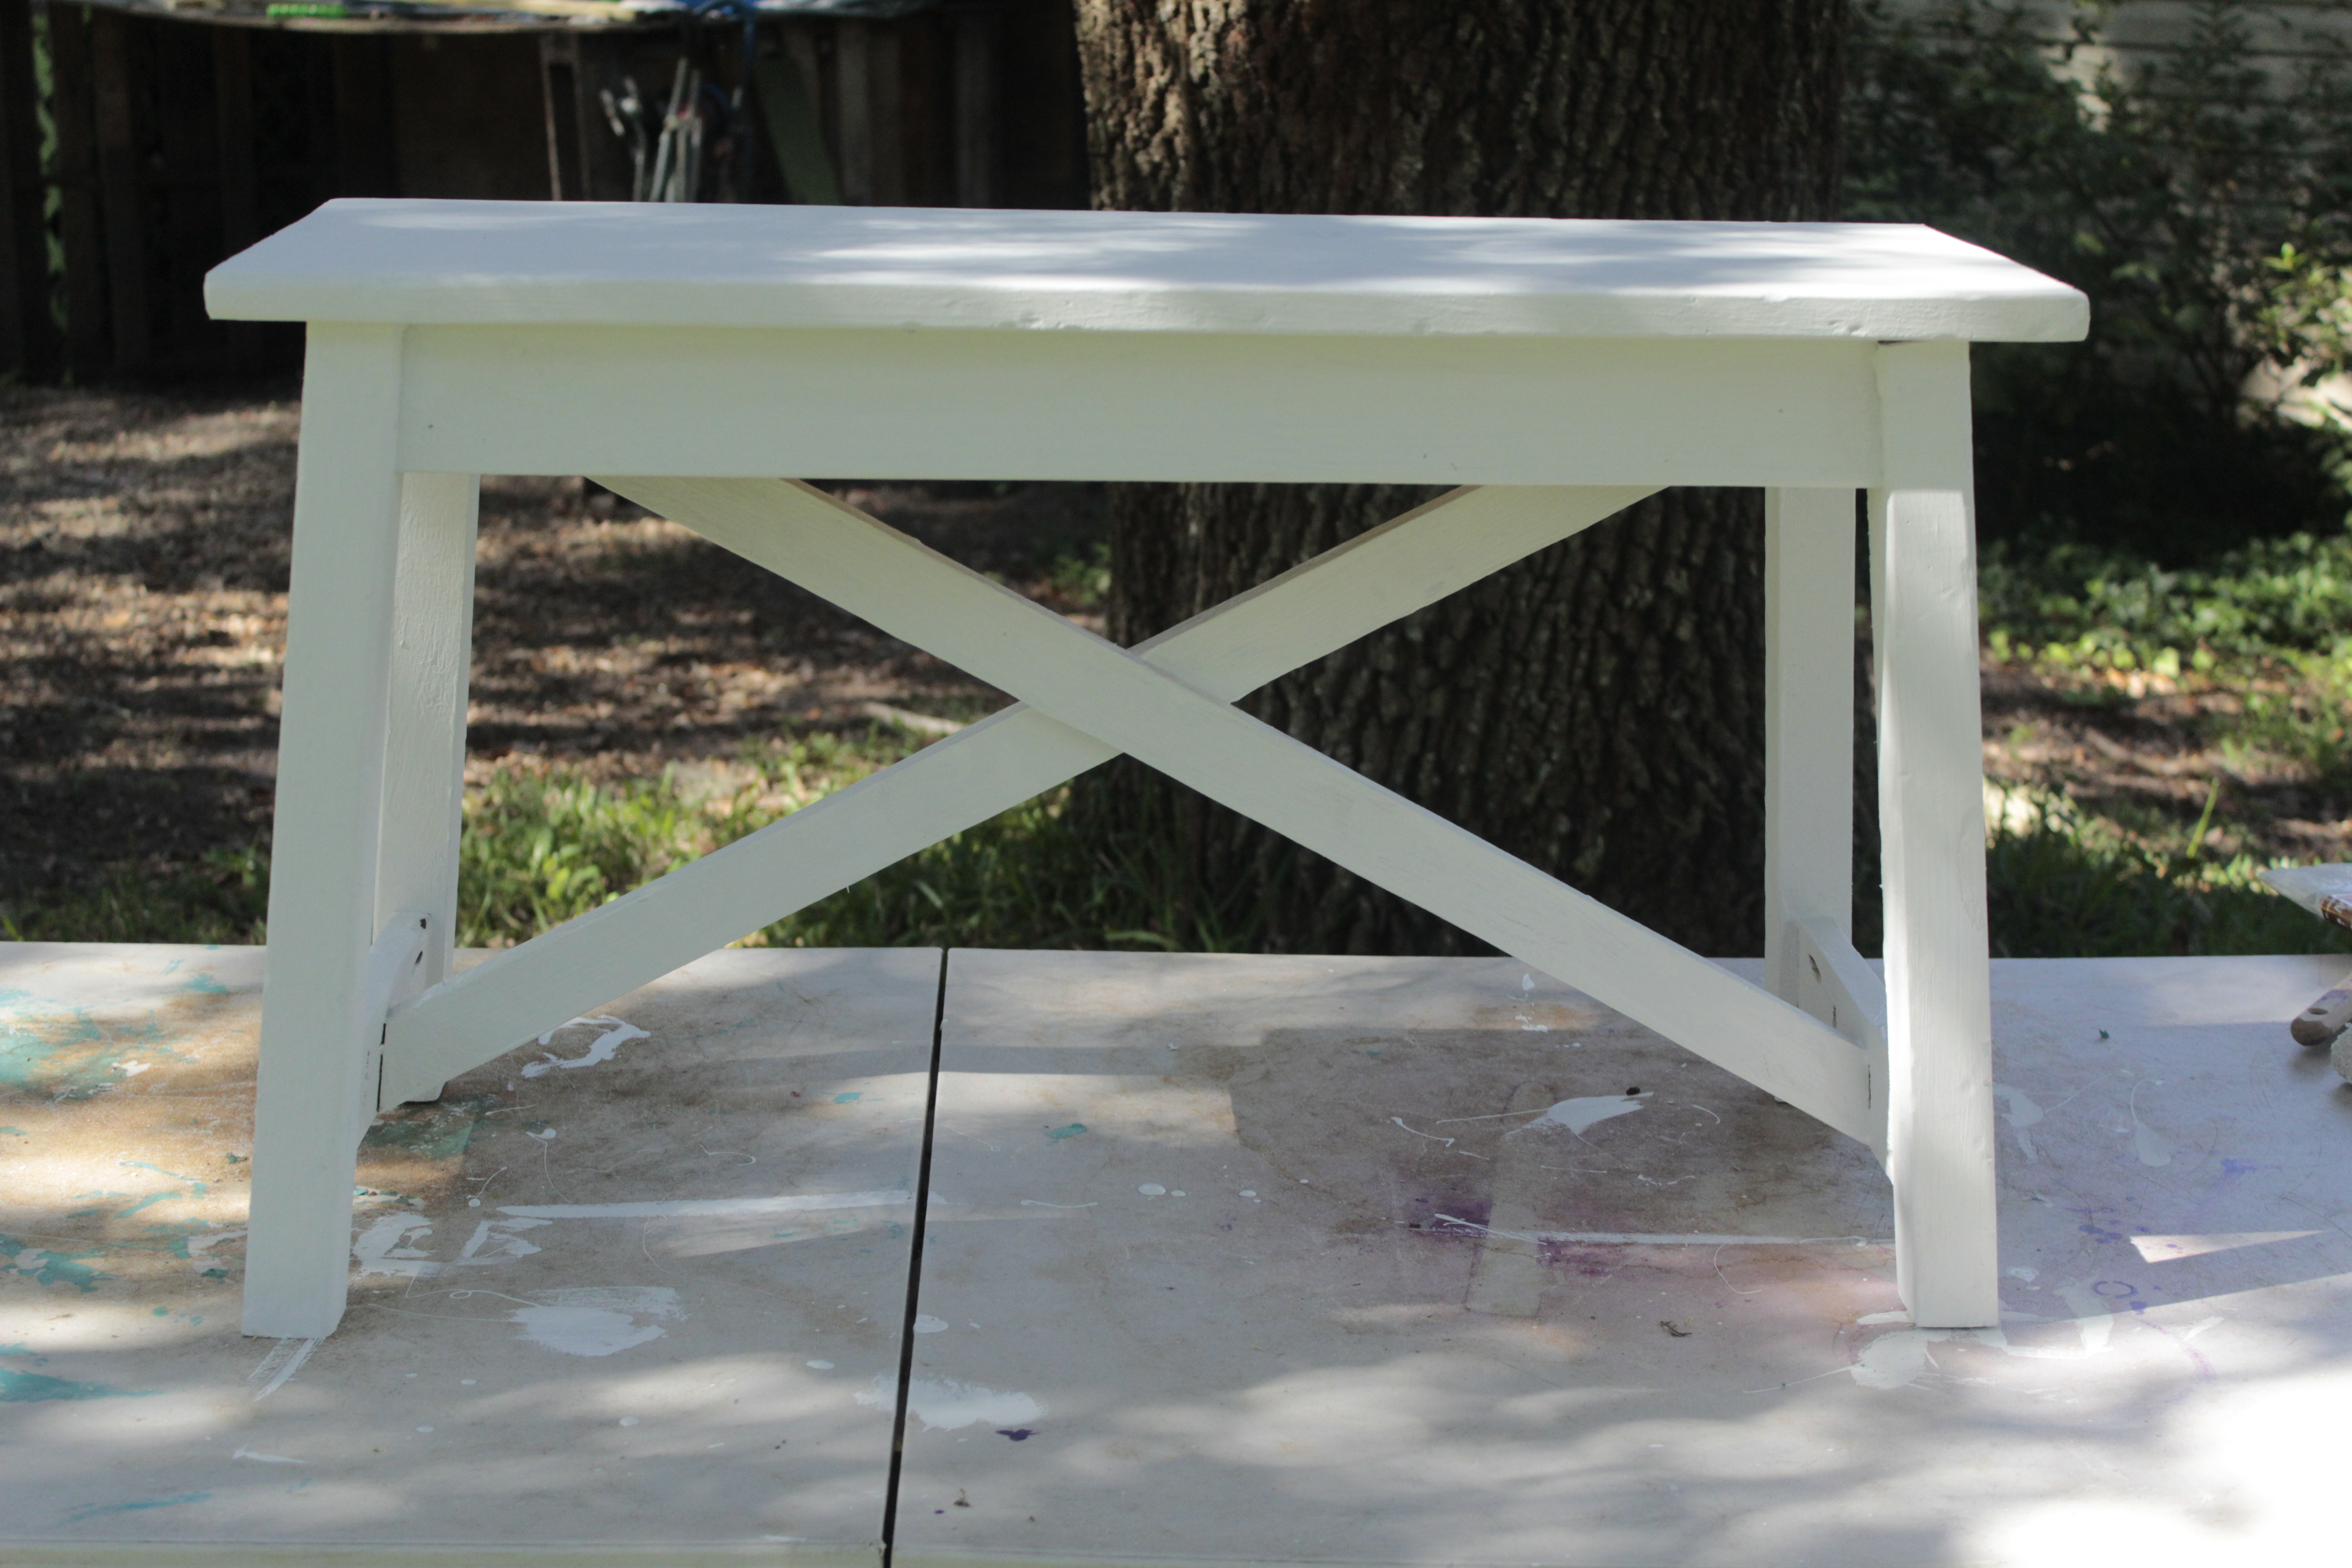
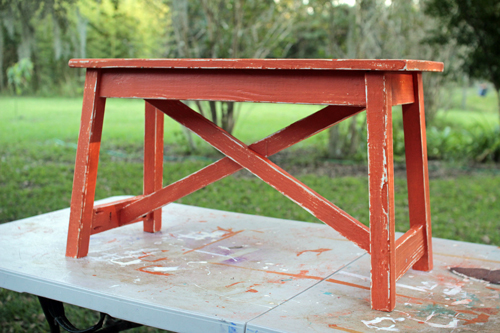
After one coat of Sherwin-Williams Harmony wall primer dried I added one coat of Sherwin-Williams Harmony paint in A La Mode color- #7116. This was a nice white color.
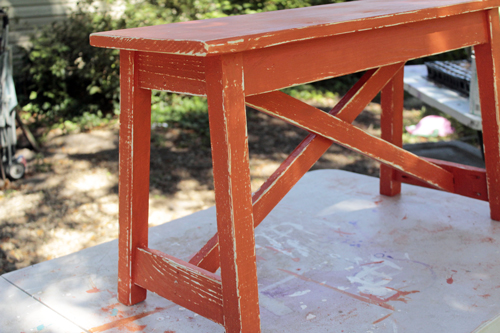
Then I went over the whole piece with a coat of Sherwin-Williams Obstinate Orange- #6884. LOVE IT! After that dried it was sanding time. You want to sand just enough to expose the first paint color underneath in some areas. For a bench like this I focused the distressing on the outer edges of the bench especially the legs and the outer perimeter of the seat. The colors you choose don’t really matter but I recommend using contrasting colors so that when the first layer is exposed it really pops against the top paint layer.
I’ll leave you with the video tutorial below! Let me know what you think and if you distress furniture using this technique post pics to my Facebook page so I can see it! I would love that!
Liz
Love your resourcefulness and creativity.
Above all, you’re an awesome example of strong young women
who value family, nature and motherhood.
Love your videos 🙂
Gracias and ciao
kitchen table with bench and chairs
thank you. I’m glad to read your article. and I was even more delighted when he found this blog. kitchen table with bench and chairs